The default APP mailbox created by the integration for your APP can be added to a more user-friendly mailing group. This mailing group will need to be created on your end but what it will do it give you an easier to remember mailbox you can send all of your bills and invoices to. Please follow the steps below to set this up.
Creating the Mail Group
In your Outlook under New on the top left corner, select the down arrow to bring up the menu. Select ‘Group’ from the menu:

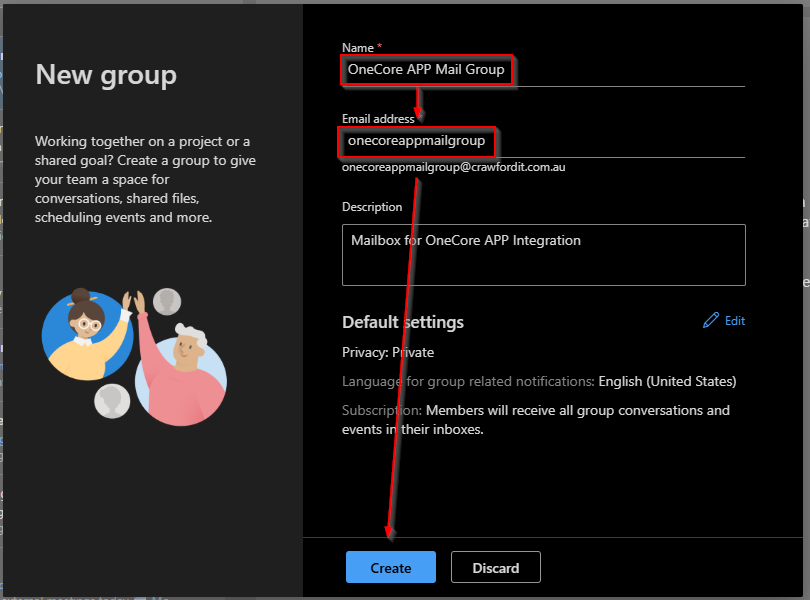
Name the new group appropriately. I have named it OneCore APP Mail Group. You will then need to choose the name of the mailbox. In this case I have setup with the default email address. Once done, hit the Create button.
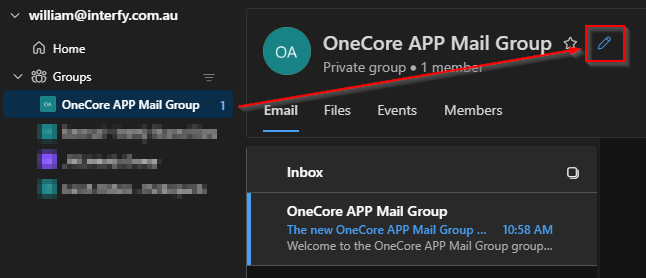
Once created you will see the new Mail Group populate in your Outlook under the Groups menu. Select the Edit option.
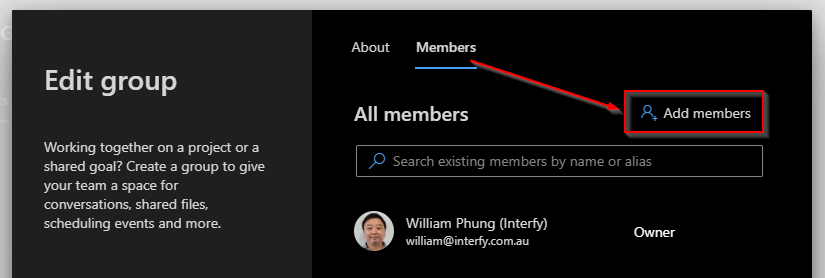
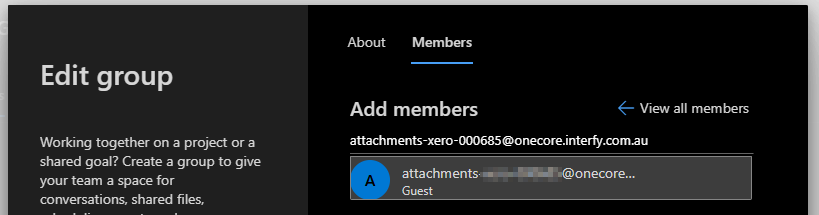
Click on the Members tab and then Add Members button to add the APP mailbox we have provided you with. Adding this mailbox as a member will have all emails sent to your Group mailbox be forwarded on to any group member mailbox.
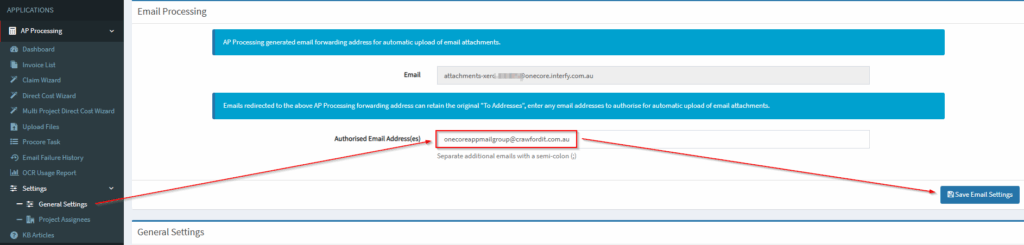
Once the mailbox has been added go to your OneCore to and navigate to AP Processing>Settings>General Settings. You will need to add the group mailbox you created to the Authorised Email Adress(es) area and remember to save your settings once done: