
In short, yes you can. Here’s how.
Commitment Claim
Method 1 – From QuickBooks Online (Highly Recommended)
In this demonstration, I will be showing you the recommended method to update your QuickBooks Invoice.
This is my QuickBooks Bill from the Procore Commitment Claim that is generated by OneCore.
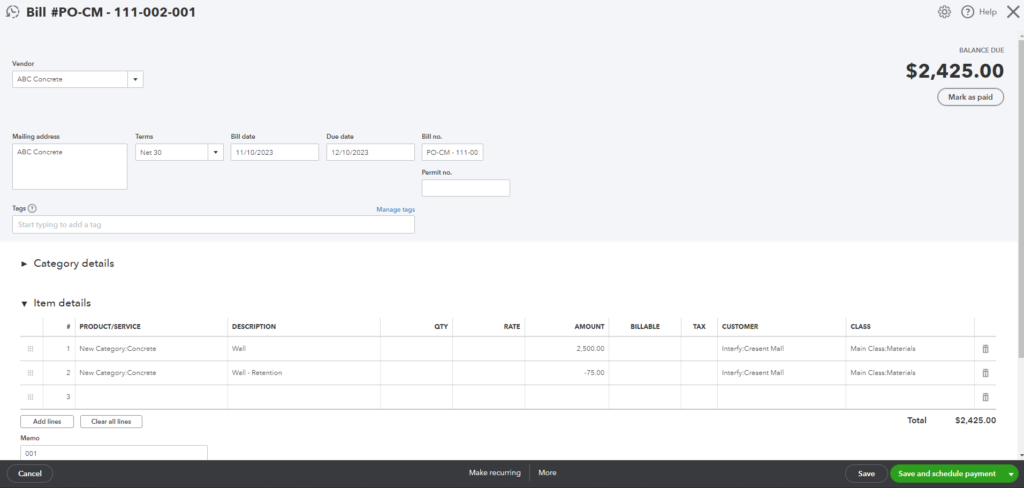
Commitment Claim
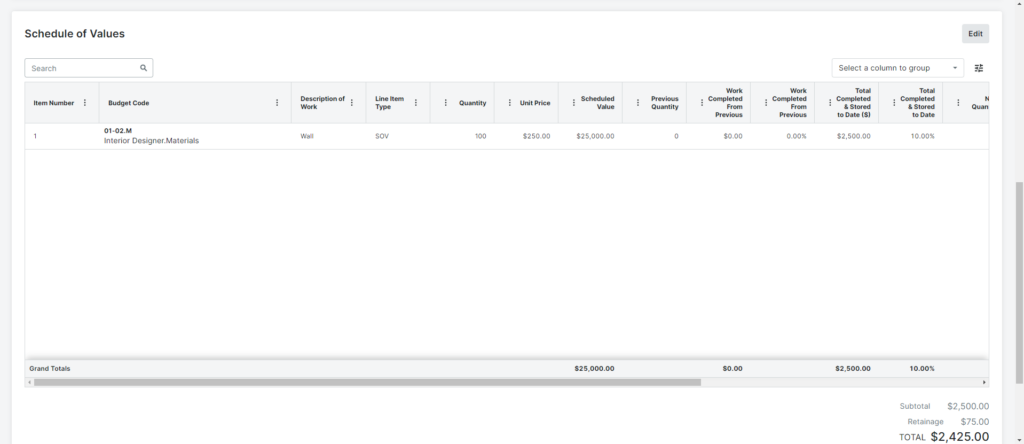
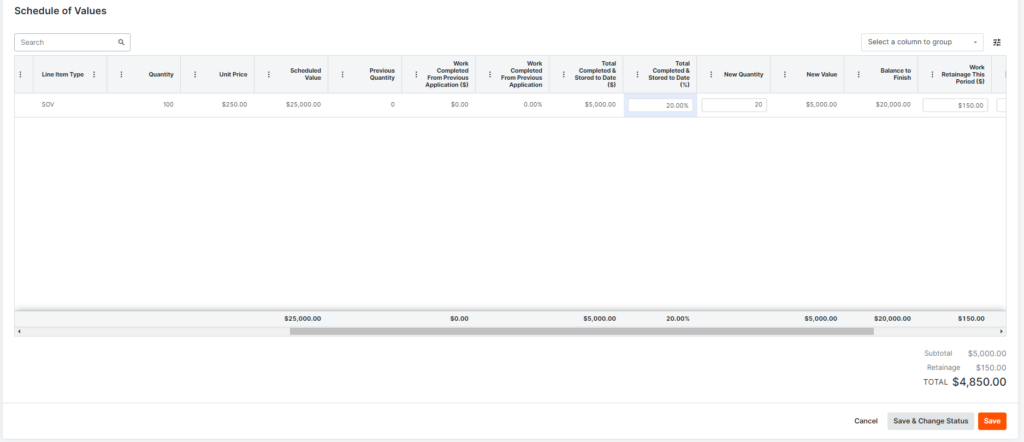
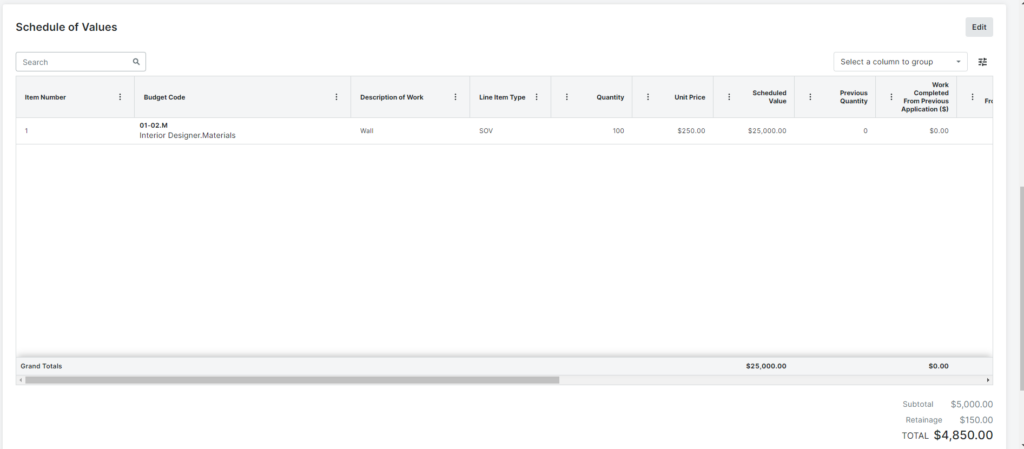
Schedule of Values
Steps:
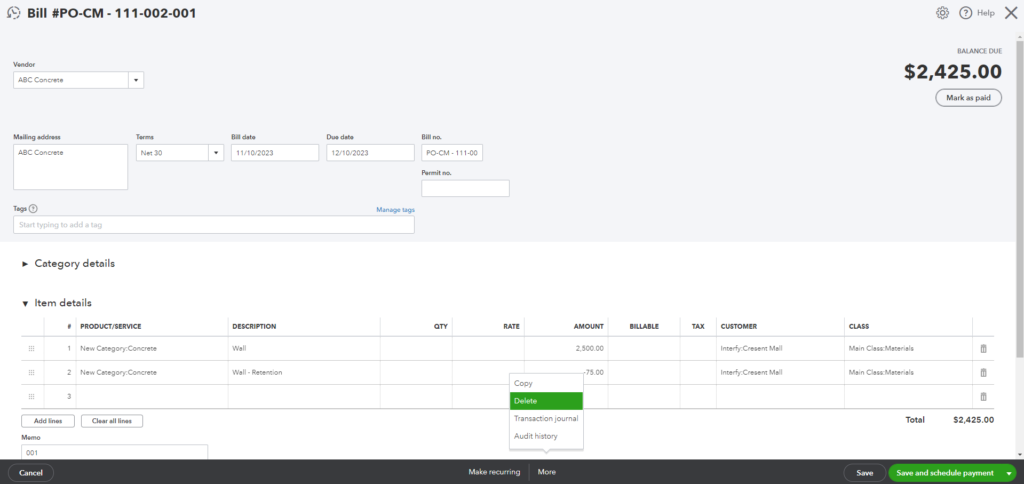
1. Delete the QuickBooks Bill.
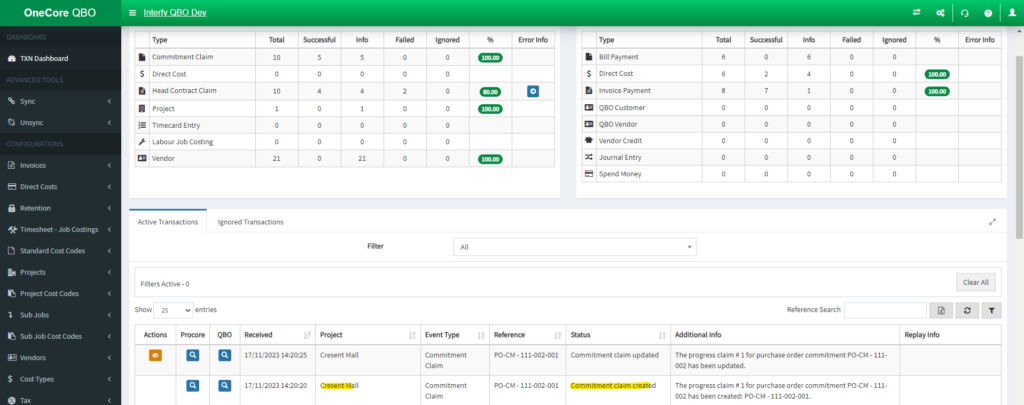
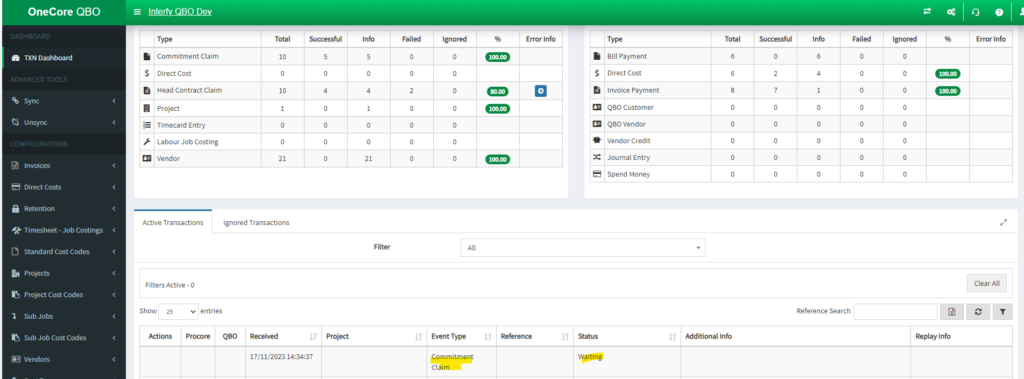
2. Navigate to the OneCore QBO Transaction Dashboard to check the process.
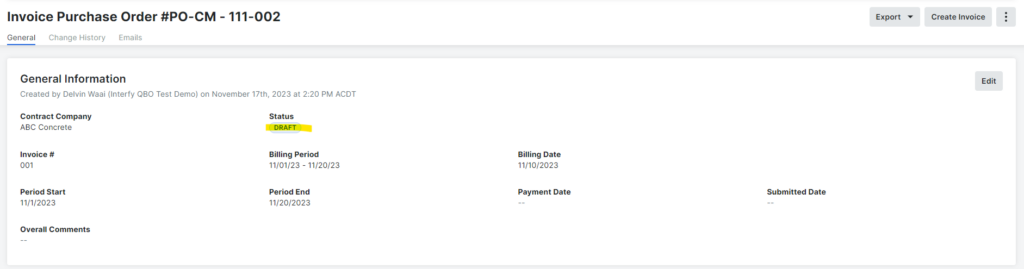
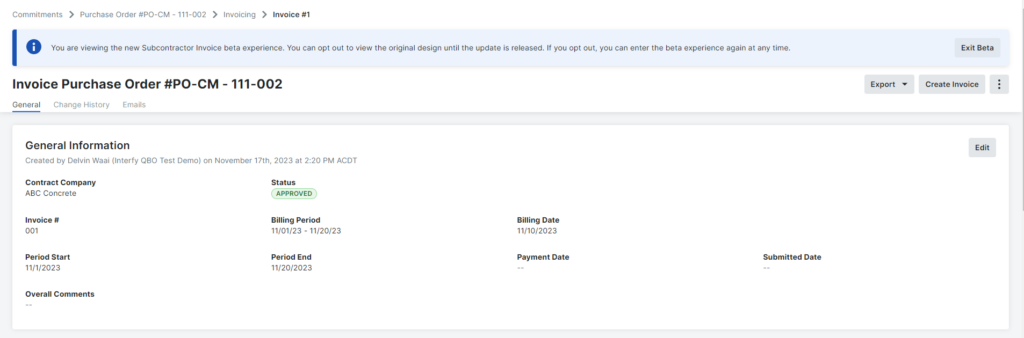
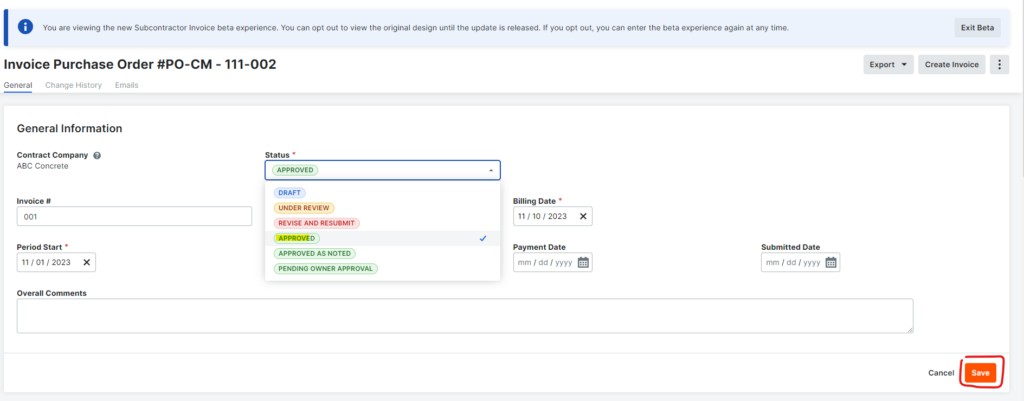
3. Once the transaction is processed, go to your Commitment Claim invoice in Procore. You should see the status in the invoice should be marked as “Draft.”(handled by OneCore.)
4. Make any necessary edits, then set the Status back to “Approve”.
For demonstration purposes, I will update my Schedule of Values. Click save once you are done.
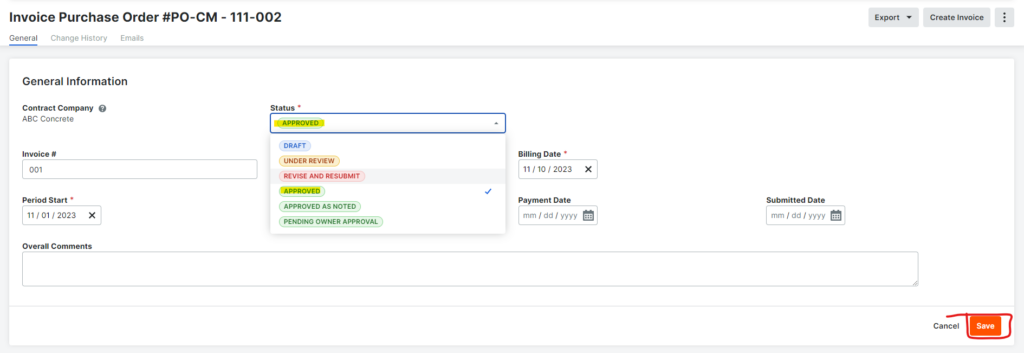
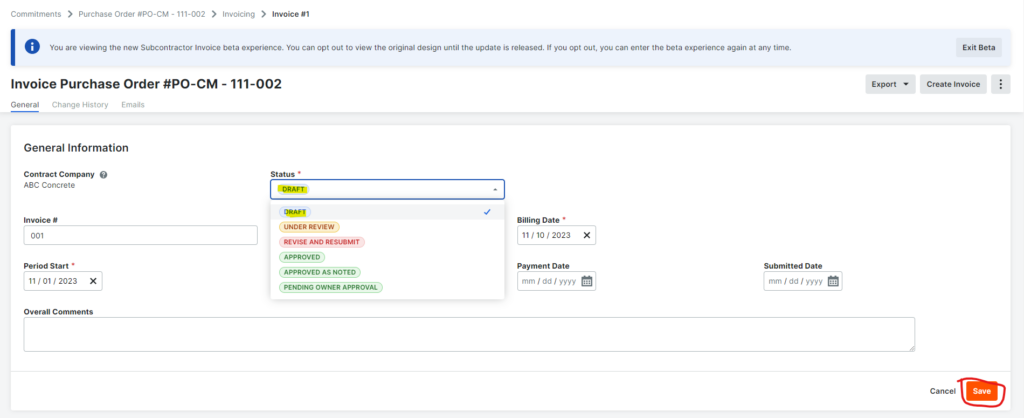
Go to General Information, click Edit, and set the Status back to ‘Approved.’. Finally, click save.
5. Navigate to the OneCore QBO Transaction Dashboard to check the process.
6. Once the transaction is successful, kindly click the Search Icon in the QBO column to see your bill.

Your updated Head Contract Claim is reflected in the QuickBooks Invoice.

Method 2 – From Procore
NOTE: There must no be any Bill Payment in the QuickBooks Bill that is linked to Commitment Claim otherwise it wouldn’t work!
In this demonstration, I will be showing you the recommended method to update your Commitment Claim.
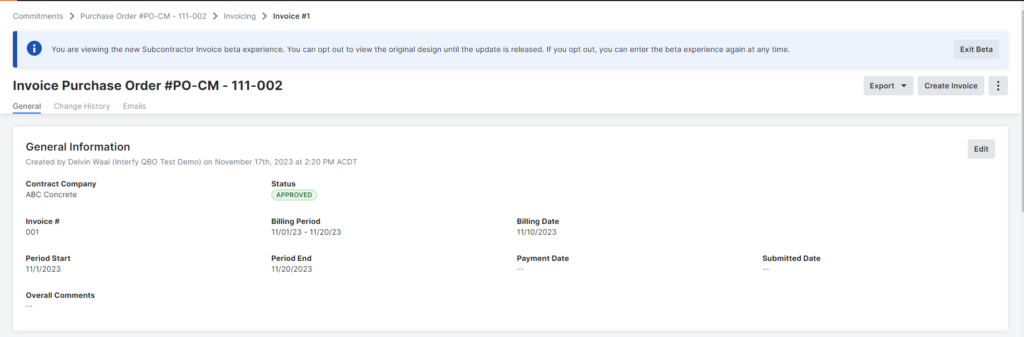
This is my QuickBooks Invoice from Procore Commitment Claim that is generated by OneCore
- Notice that the Bill does not have any associated Bill Payment in the top right corner.

Commitment Claim
Schedule of Values:
Steps:
1. Set the Head Contract Claim Invoice’s status back to “Draft”, and click Save.
2. Make necessary changes, then set the Status back to approve.
For demonstration purposes, I will update my Schedule of Values. Click save once you are done.

Go to General Information, click Edit, and set the Status back to ‘Approved.’. Finally, click save.
3. Navigate to the Transaction Dashboard in OneCore QBO, and click the Search Icon in the QBO column to see the reflected changes.

Your updated Commitment Claim is reflected in the QuickBooks Bill.
