
If ‘Sub Jobs’ are used in a Procore project, you need to complete the mapping as described below every time a new project is created.
Note: This is why we recommend the standard cost codes so that you can automate the cost mappings at the sub-jobs level.
To re-use standard cost codes in the Procore Project: please read the tutorial here.
Requirements to fulfill in order to get the sub job working:
- Establish Sub Job mapping in OneCore
- Sub Job Cost Codes
- Expense Mapping
- Revenue Mapping
Establish Sub Job mapping in OneCore
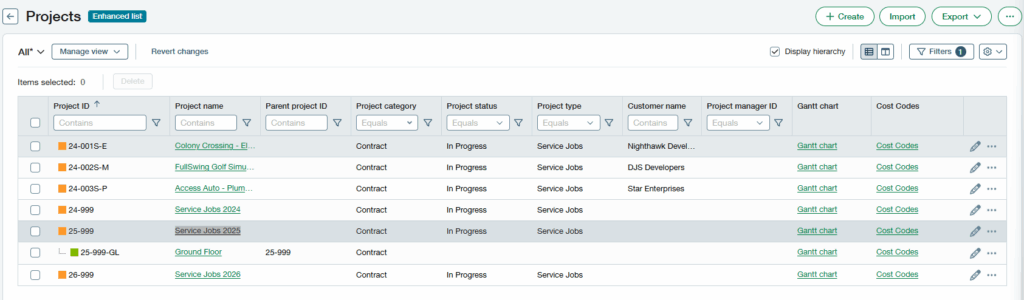
If I have a sub-job named “Ground Floor” within the “Service Jobs 2025” project in Procore, here is how you can configure it in Sage Intacct.
- Create a new Sub Project in Intacct for the Sub Job accordingly.
2. Once you created the corresponding sub project in Intacct for sub job, navigate to Projects > General Settings to refresh the Sage Projects.

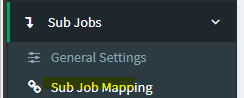
3. Map the Procore Sub Job to the Intacct Sub Project in OneCore, by navigating to:
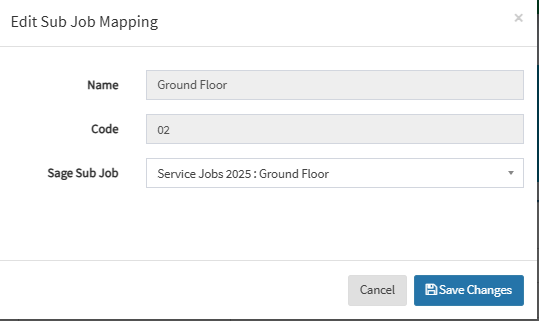
Select the Sub Job to map by pressing the blue ‘Pencil’ icon. A pop-up will appear that allows a Sage Sub Job to be selected.
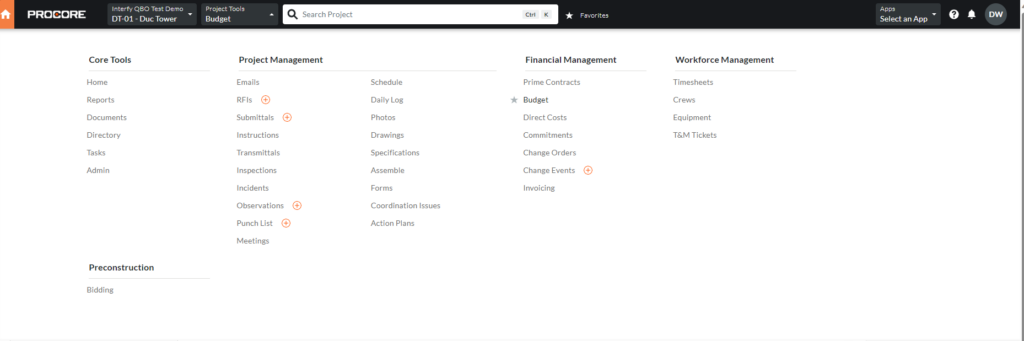
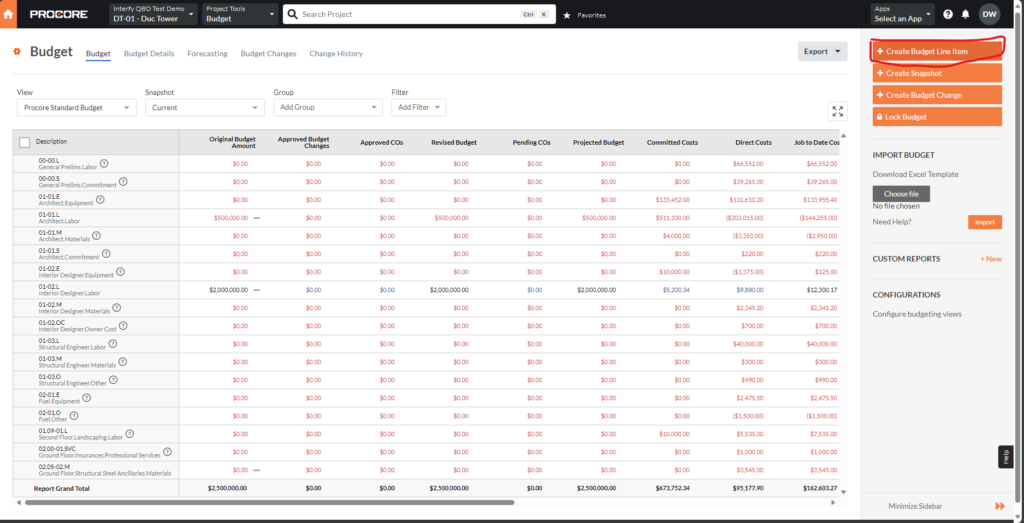
4. Back to Procore, go to Budget under Project Tools
5. Click Create a budget line item for the corresponding sub-job.
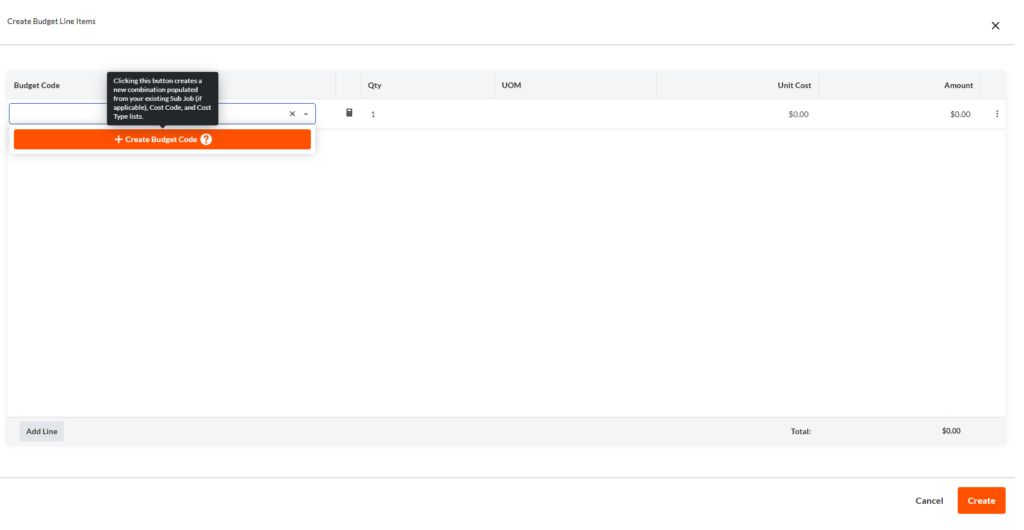
6. Click Add Line, + Budget Code
7. Populate the corresponding sub-job, cost code, and cost type. Hit create.
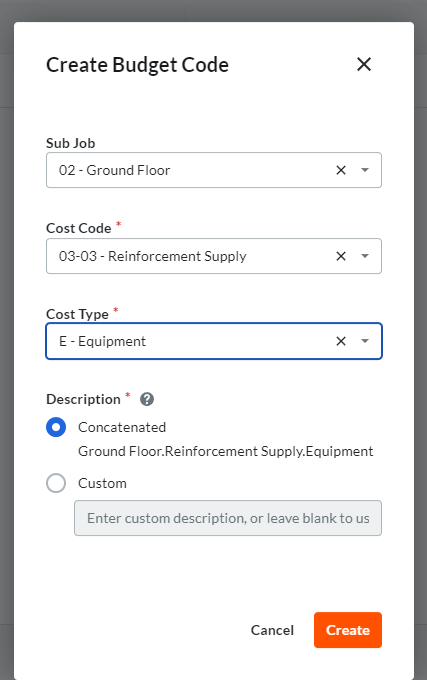
8. Hit Create
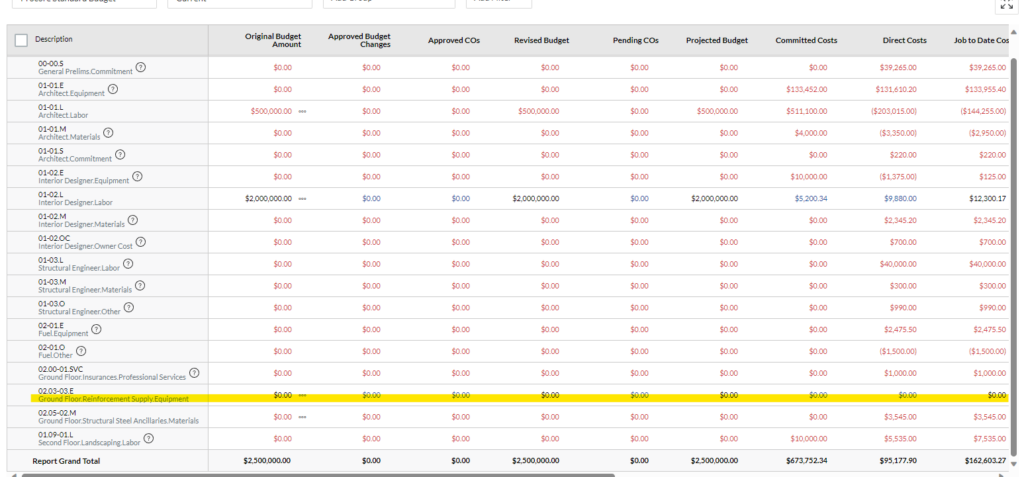
9. You shall see the updated table has your previously created budget code being populated.
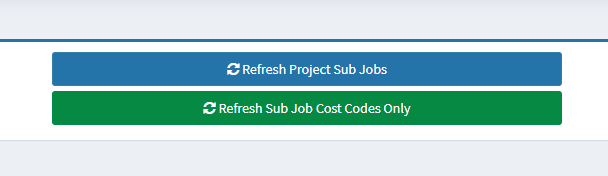
10. Redirect back to OneCore, navigate to Sub Job > General Settings
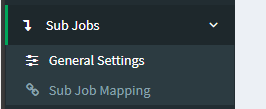
11. Click Refresh Sub Job Cost Codes to update the list.
You shall proceed to the Mapping Sub Job Cost Codes step to finalize your cost code mapping process!
Mapping Sub Job Cost Codes
Sub-jobs are jobs within a job and come with their own set of cost codes. The best practice is to use cost codes from your standard cost codes list (where possible) so that mapping is straightforward.
To re-use standard cost codes in the Procore Project: please read the tutorial here.
Mapping needs to occur for both expense and revenue.
Sub Job Expense Mapping
In this example, we will be demonstrating how to establish the Expense Account mapping. This terminology also applies to the Expense Item mapping.
Navigate Sub Job Cost Codes > Expense Mapping
On the top section, select a sub-job you want to configure.
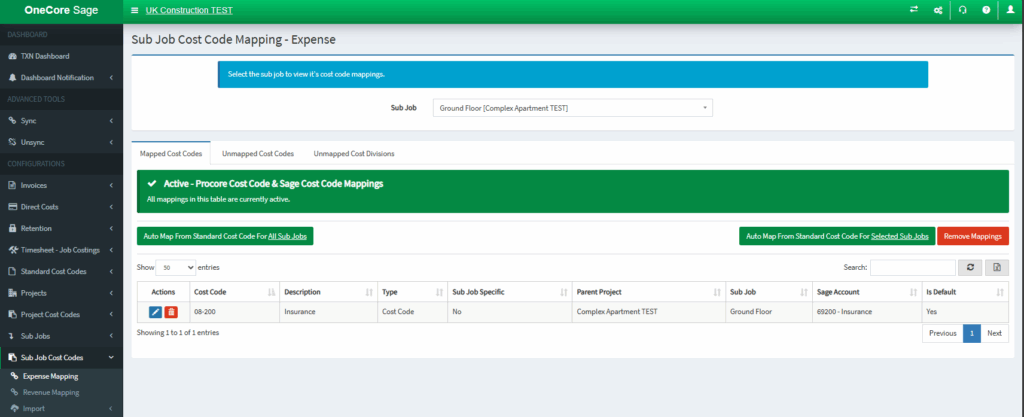
Afterward, you shall see the mapped cost code reflected in the table below.
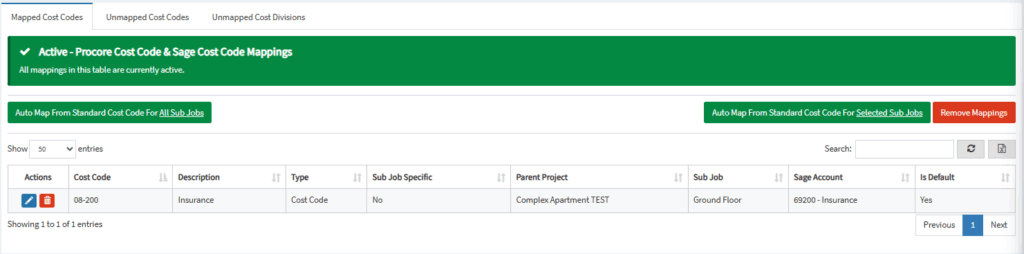
If standard cost codes were used to create the Sub Job cost codes (recommended) simply select the sub-job via the drop-down and press the ‘Auto map from standard cost code‘ button.
- Select the Sub Job from the drop-down list.
- If Standard Cost Codes were used to create the sub-job cost code list, press ‘Auto Map From Standard Cost Code for Selected Sub Job’
- Alternatively, if there are multiple Sub Jobs that need to have cost codes mapped, press ‘Auto Map from Standard Cost Code for All Projects’
- If there are sub-job-specific cost codes, these will need to be mapped individually by selecting the ‘Unmapped Cost Codes’ tab and mapping all cost codes.
Sub Job Revenue Mapping
On the top section, select a sub-job you want to configure.
Afterward, you shall see the mapped cost code reflected in the table below.
If standard cost codes were used to create the Sub Job cost codes (recommended) simply select the sub-job via the drop-down and press the ‘Auto map from standard cost code‘ button
- Select the Sub Job from the drop-down list.
- If Standard Cost Codes were used to create the sub-job cost code list, press ‘Auto Map From Standard Cost Code for Selected Sub Job’
- Alternatively, if there are multiple Sub Jobs that need to have cost codes mapped, press ‘Auto Map from Standard Cost Code for All Projects’
- If there are sub-job-specific cost codes, these will need to be mapped individually by selecting the ‘Unmapped Cost Codes’ tab and mapping all cost codes.
After completing the mapping, commitment and head contract claims containing Sub Jobs in the SOV will be exported to Sage Intacct without issue.