
Onboarding
Assignar
Create a new Dashboard User in your Assignar instance with the email address: support@onecoreconnect.com.
MYOB
User Access
Before Proceeding
The OneCore MYOB integration for Assignar requires the MYOB company file be stored online. You can determine if the file is online by checking for the “Online ” indicator in bottom right hand corner once you load into MYOB.
If your company file is not online, you can follow the instructions here:
http://help.myob.com/w iki/display/ar/Put+your+company+file+online
- Create a new user in your MYOB instance with the email address: support@onecoreconnect.com
- Open the company file.
- Go to the Setup menu and choose User Access. The User Access window appears.
- Click New User.
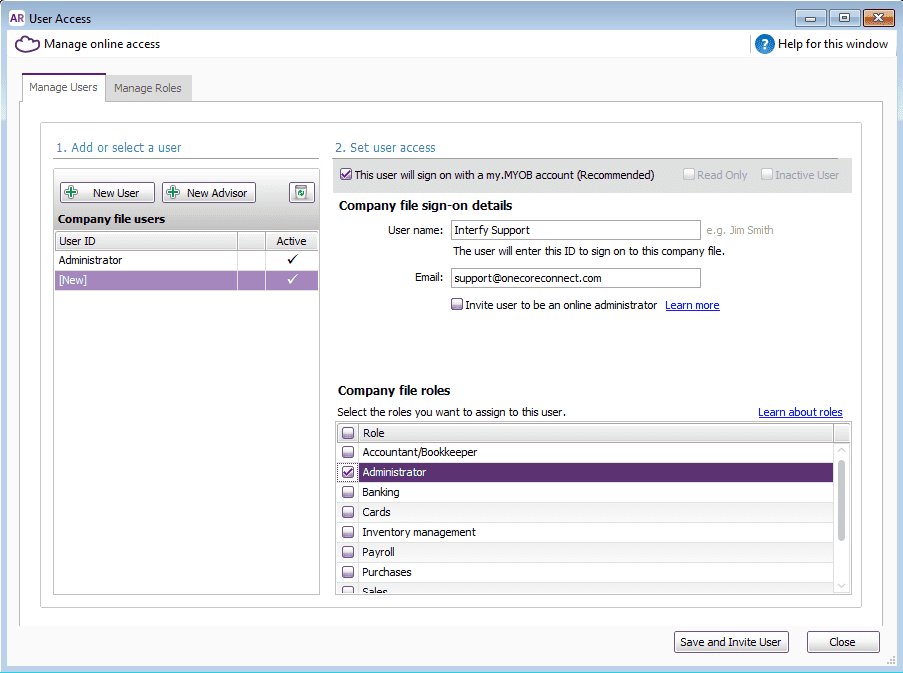
- Select the This user will sign on with a my.MYOB account option.
- Type Interfy Support in the User name field
- Enter support@onecoreconnect.com in the Email field.
- In the Company file roles list, select Administrator.
- Click Save and Invite User
Full instructions are available here – http://help.myob.com/wiki/display/ar/Add+a+user
Merge Duplicate MYOB Cards
Removing duplicate Cards from MYOB is a recommended task as this will eliminate confusion when mapping to Assignar clients.
A step by step guide is provided in the following link.
http://help.myob.com/wiki/display/ar/Combining+cards
Assignar Timesheet Codes and MYOB Payroll Categories
Ensure that all Assignar Timesheet Codes have an equivalent MYOB Payroll Category that it can be mapped to. This is a key requirement in ensuring transactions can be processed between both systems without issue.
Contact Interfy Support
Once these tasks have been completed, contact us (support@onecoreconnect.com) to continue with getting the integration up and running.
Once the pre-onboarding tasks have been completed, our support team will import data from both Assignar and MYOB into our integration platform (OneCore) where data can be mapped across both systems.
A login to OneCoreAssignar MYOB application will be created and supplied to begin the onboarding activities.
https://assignar-myob.onecoreconnect.com
OPERATION
Configure sync options.
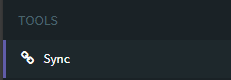
1. From OneCore, go to Sync.
2. Each transaction type here is scheduled to poll every 2 minutes. Clicking the corresponding Sync button will queue that transaction in the next available slot and reschedule the next transaction in 2 minutes.

3. Enable/disable Sync Options as expected and click the corresponding Save button. Configuration meanings:
- Disable Project Sync: when checked, prevents the creation/update of Assignar Projects from creating/updating Myob Detailed Jobs.
- Disable Contact Sync: when checked, prevents the creation of Myob Customer Contacts from creating Assignar Clients.
- Disable Contact Details Sync: when checked, prevents the update to Myob Customer Contacts from updating corresponding Assignar Clients.
- Disable Employee Sync: when checked, prevents the creation/update of Myob Employees from creating/updating Assignar Workers.
- Disable Timesheet Sync: when checked, prevents the creation/update of Myob Timesheets from creating/updating Assignar Timesheets.


Project
General Settings
1. To fetch existing projects, go to Projects / Jobs>General Settings:
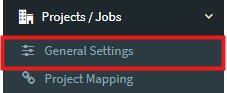
2. Click on Refresh Projects & Jobs to refresh the projects list.

Project Mapping
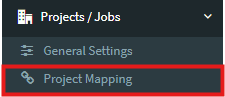
1. Navigate Projects / Jobs>Project Mappings>Unmapped Projects Tab.

2. Click on the pencil icon of a project.

3. Choose a Detailed Job corresponding to that project > Click Save Changes

4. The project disappears from the unmapped list. You shall see the table correctly displays the latest mapping after navigating to Mapped Project.

Detail Job Mapping
1. Navigate Projects / Jobs>Project Mappings>Unmapped Detailed Jobs Tab.

2. Click on the pencil icon of a detailed job.

3. Choose a Project corresponding to that detailed job > Click Save Changes.
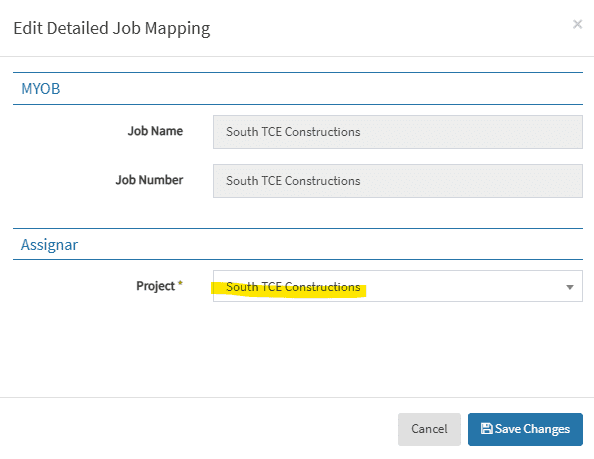
4. The project disappears from the unmapped list. You shall see the table correctly displays the latest mapping after navigating to Mapped Project.
Client
General Settings
1. Go to Clients>General Settings:
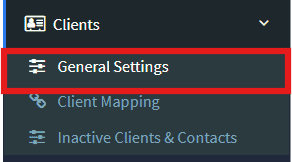
2. Click on Refresh all Clients and Contacts to refresh the clients and contacts lists.

Client Mapping
1. Map existing Clients/Contacts.
How to map Assignar Clients to Myob Contacts; vice versa
1.1. To map Assignar Clients, go to Client Mapping.
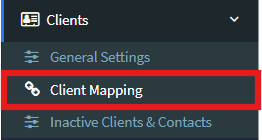
You will see three tabs – Mapped Clients, Unmapped Assignar Clients and Unmapped Myob Customers.
1.2. Select Unmapped Assignar Clients. This will show you a list of unmapped Assignar clients.

Select Unmapped Myob Customers. This will show you a list of unmapped Myob customer contacts.

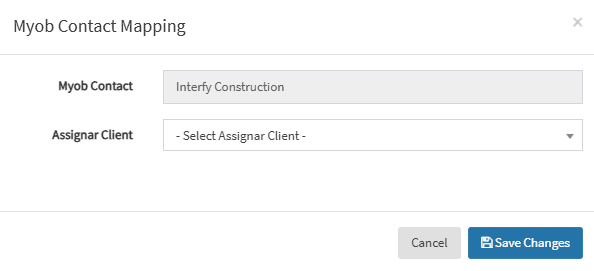
2. To manually map, click on the pencil icon next to the client or contact, to select the corresponding client or contact to map to. Click Save Changes once done.
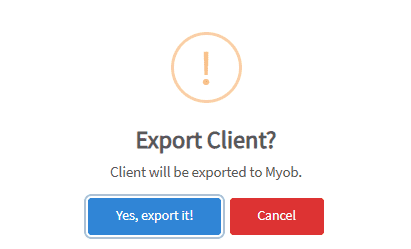
3. If there is not an equivalent mapping but the client or contact must be in Assignar or Myob, you can click the Export button to create an automatic mapping.
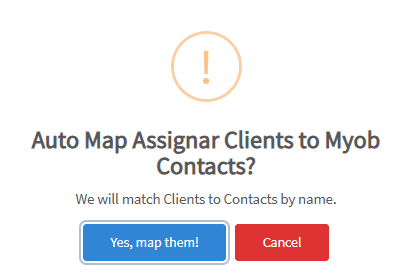
4. To auto-map contacts and clients, go to the Mapped Clients tab and click on Auto Map Clients by Name. This will only work if the corresponding Assignar client or Myob contact has been created. Select Yes, map them! to map the clients.
Timesheets
General Settings
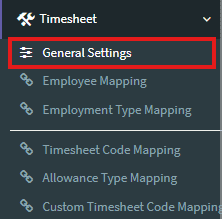
1. To fetch Payroll Data, go to Timesheets>General Settings:
2. Click Refresh Payroll Data

3. In Timesheet Settings, set the Sync Approved Timesheets Only, Enable Timesheets for Salaried Employees, Default Payroll Category Mode and Default Payroll Category (one of the alternative payroll categories applied to timesheet line entries when time codes are not yet applied to timesheets – unapproved timesheets or approved without overtime rules run) based on your requirements, click Save Timesheet Settings.

Employee Mapping.
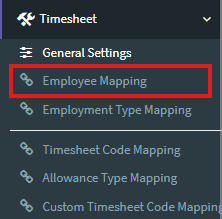
1. Go to Timesheets>Employee Mapping.
2. On Employee Mapping page, click the pencil icon to start mapping.

3. Choose the Myob employee to map to and click Save Changes.
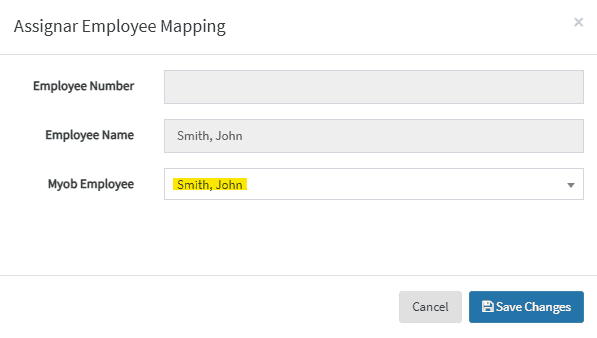
4. You shall see the table correctly display the latest mapping.

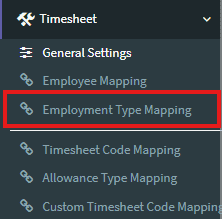
Employment Type Mapping
1. Go to Timesheets>Employment Type Mapping.
2. On Employment Type Mapping page, click the pencil icon to start mapping.

3. Select the appropriate Myob Employment Status from the select list.
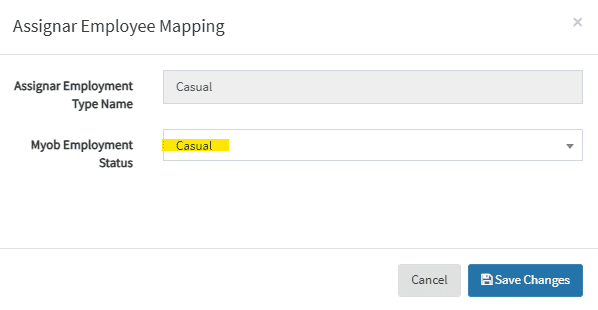
4. Click Save Changes. You shall see the updated mapping in the table.

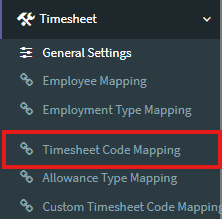
Timesheet Code Mapping
1. Go to Timesheets> Timesheet Code Mapping.
2. On Timesheet Code Mapping page, click pencil icon next to the desired Assignar Timesheet Code.

3. Select the appropriate Payroll Category from the select list.
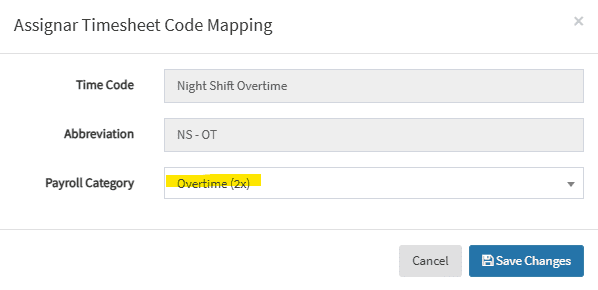
4. Click Save Changes. You shall see the updated mapping in the table.

Employee-specific Timesheet Code settings
1. Go to Timesheets>Employee Mapping.
2. On Employee Mapping page, click the yellow slider icon to open employee setting modal.

3. In the Employee Settings modal, set employee-specific Default Payroll Category as expected. To edit employee-specific timesheet code mappings, click on the pencil icon of entries in the table below, and map as in Payroll Category Mapping.

Add/Edit Custom Timesheet Code Mapping
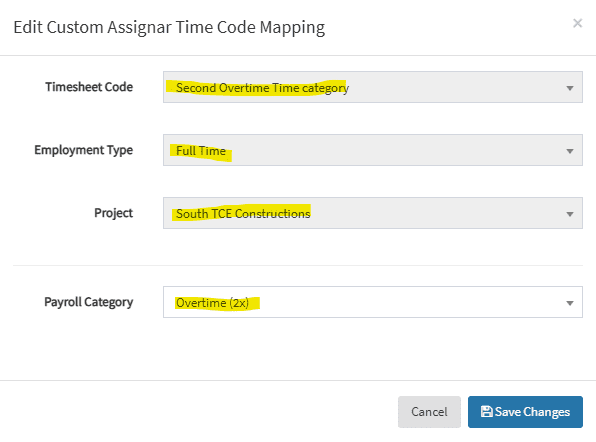
1. Go to Timesheets> Custom Timesheet Code Mapping
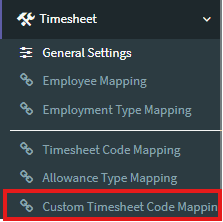
2. On Custom Time Timesheet Code Mapping page, click pencil icon next to the desired Assignar Timesheet Code to edit existing Custom Timesheet Code Mapping. Or, click “Add Custom Time Code Mapping” to add new Custom Timesheet Code Mapping.

3. Select the appropriate Timesheet Code, one or both of Employment Type and Project, and Payroll Category from select lists.
4. Click Save Changes. You shall see the updated mapping in the table.

Allowance Type Mapping
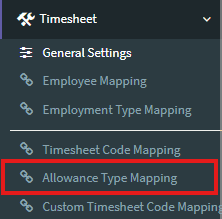
1. Go to Timesheet > Allowance Type Mapping
2. On Allowance Type Mapping page, click the pencil icon to start mapping.

3. Select the appropriate Myob Payroll Category from the select list.
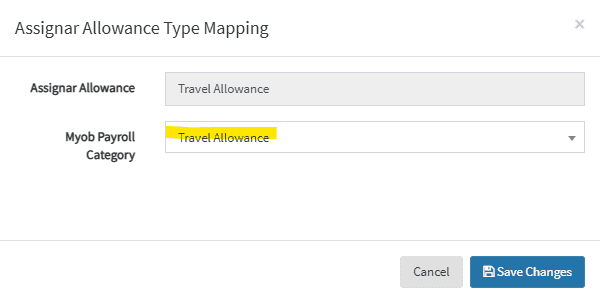
4. Click Save Changes. You shall see the updated mapping in the table.
