Setup
1. Request Interfy support to activate the module via https://onecore.interfy.com.au/Support
2. Give Interfy support user the payroll admin access.
3. Update the Payroll settings in Xero to include the “Project” (or Job) tracking category as the “Timesheet Category”

Once the module has been activated by support, “Timesheet – Job Costings” menu will appear.
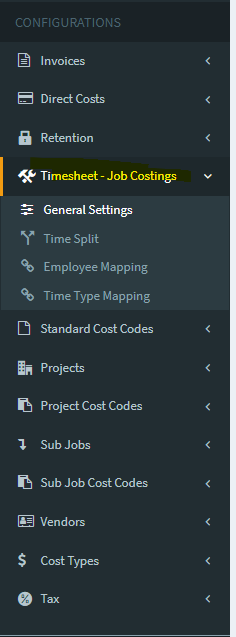
General Settings
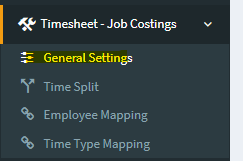
1. Once the module has been activated, navigate to the General Settings
2. Click Refresh Timesheet – Job Cost Data to update

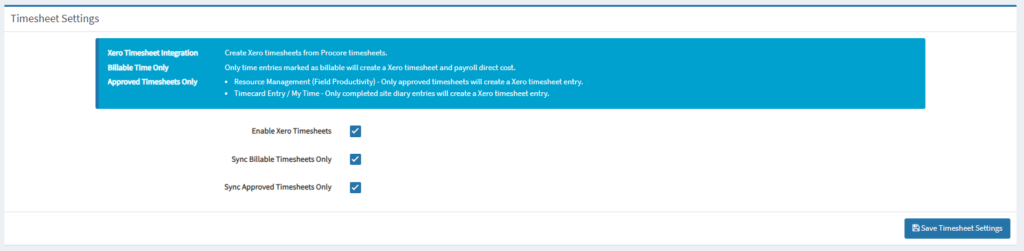
3. In Timesheet Settings, set the Enable Xero Timesheets, Sync Billable Timesheets Only, and Sync Approved Timesheets Only based on your requirements, click Save Timesheet Settings
4. In Labour Direct Cost Settings, set
- Enable Direct Costs: Create payroll direct costs from Procore timecard entries
- Direct Cost Trigger: Select the event for processing payroll direct cost
- Direct Cost Vendor: The vendor used when creating payroll direct costs.
- Default Cost Type: The cost type used in the payroll direct cost line item.
- Default Time Type: The time type to use when timecard entries have no value specified for the time type field.
- Enable Direct Cost Per Employee
- Checked – Create payroll direct costs for each employee. If the employee is a Procore User, the ‘Employee’ field will also be populated.
- Unchecked – All timecard entries will be grouped into a single daily payroll direct cost.
- De-identify Employees: When payroll direct costs are grouped per day, do not include employee names in the line item description.
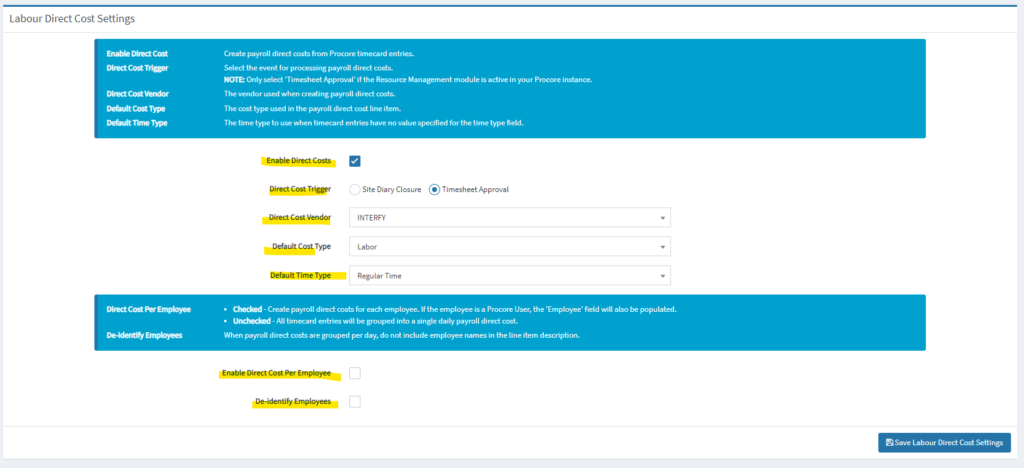
5. Click Save Labour Direct Cost Settings.
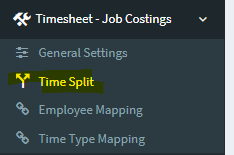
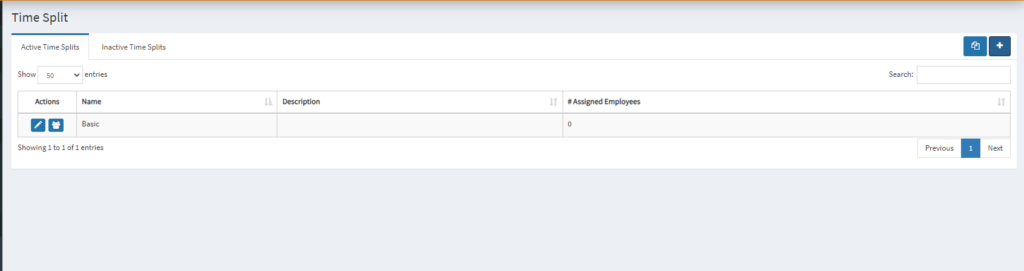
Time Split
1. To configure time split, navigate to Time Split
2. Hit the + icon on the right side to add a new Time Split

3. Set the Name, Description, Base Time Type and Time Type Record

4. Once set, hit Save
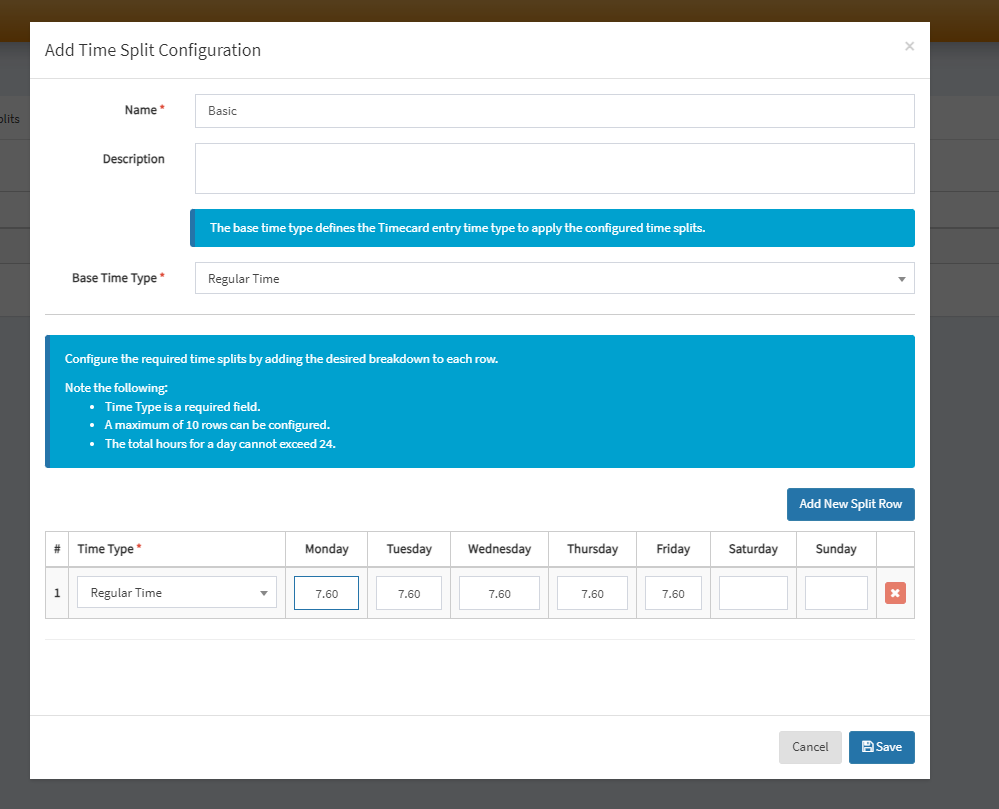
5. You shall see the updated record shown in the Time Split table below.
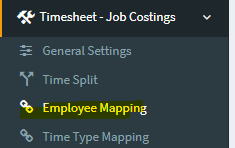
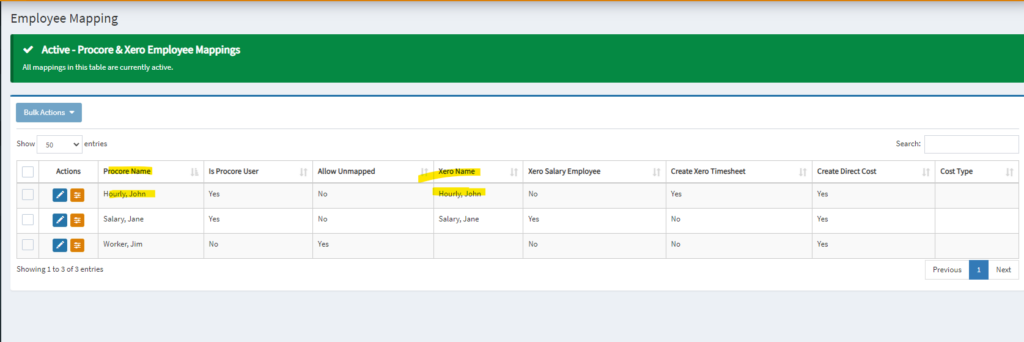
Employee Mapping
1. Select the “Employee Mapping” sub option.
2. On Employee Mapping page, click the pencil icon to start mapping.
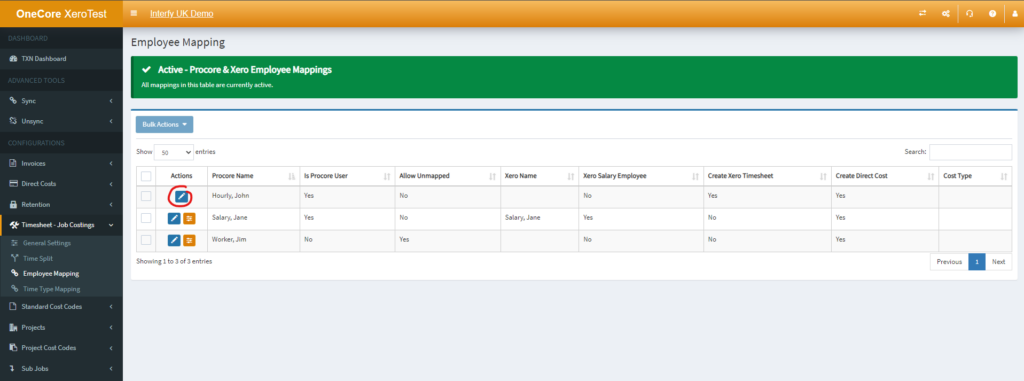
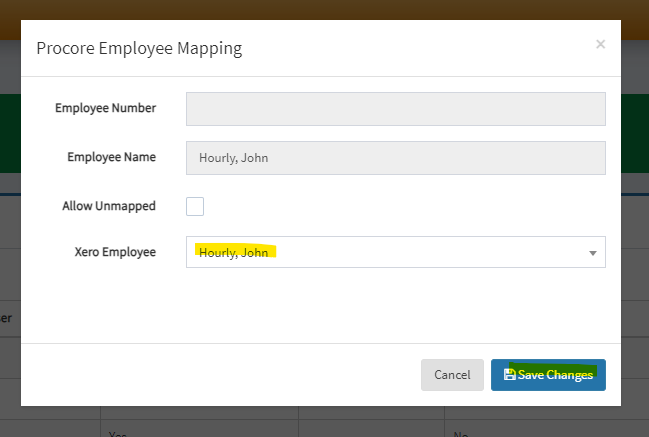
3. Select the appropriate Xero Employee, click Save Changes
4. You shall see the table correctly display the latest mapping.
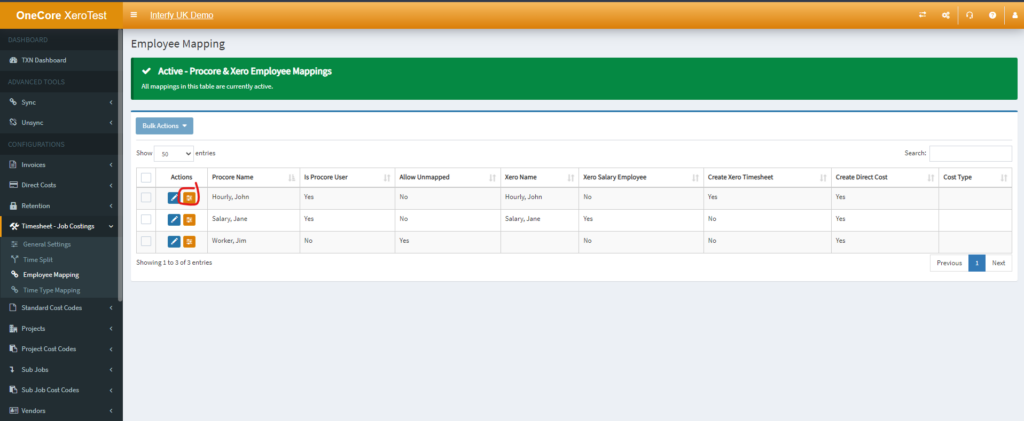
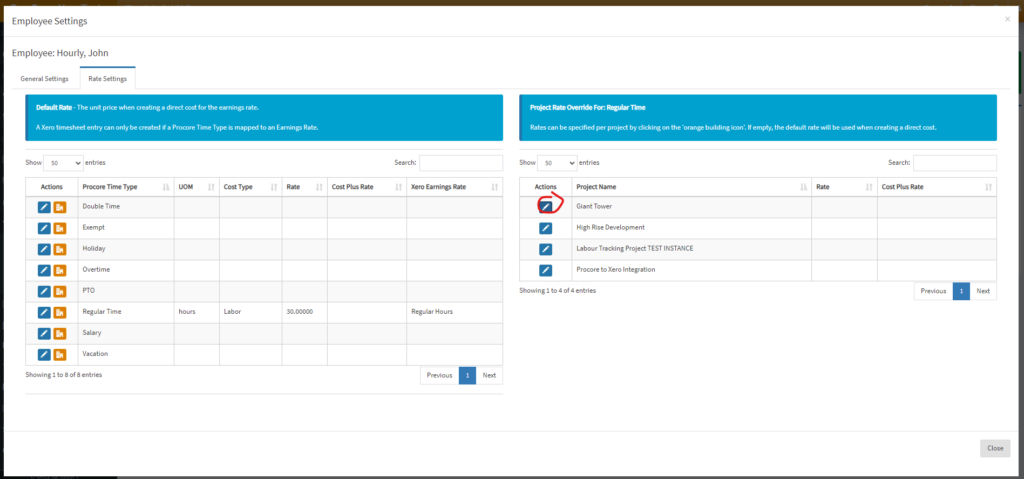
Employee Settings
1. Once the mapping has been established, the orange icon which indicates Edit Employee Settings will be displayed
2. In General Settings, Set the Create Xero Timesheet, Create Direct Cost, Cost Type and Time Split here.
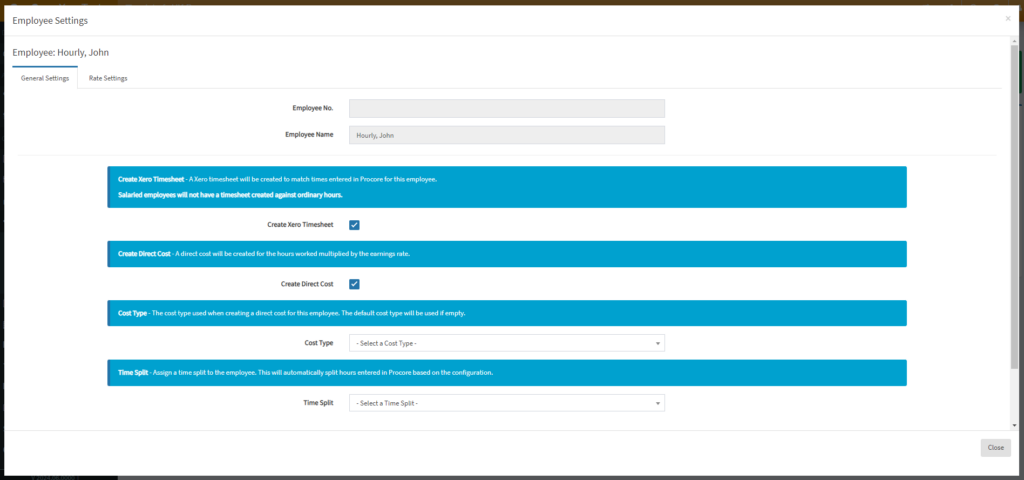
3. Scroll down to the button, hit Save General Settings

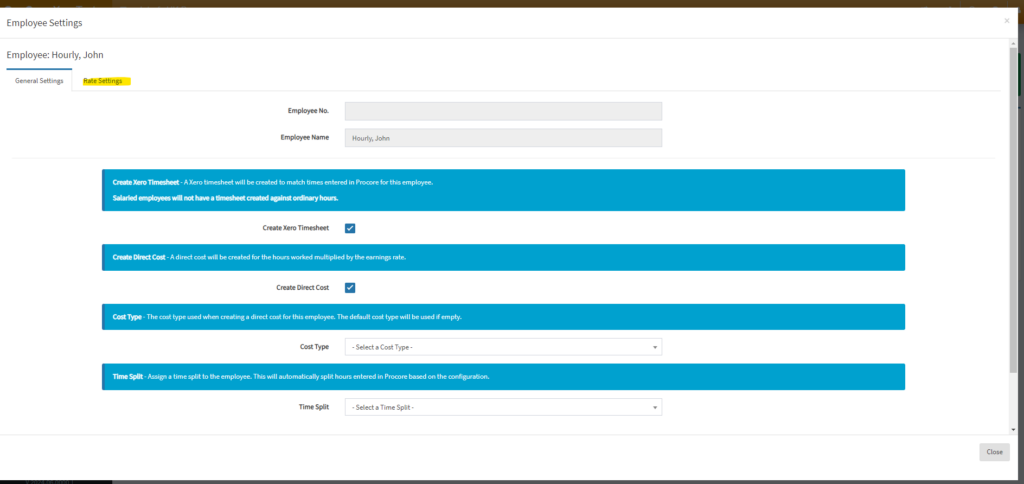
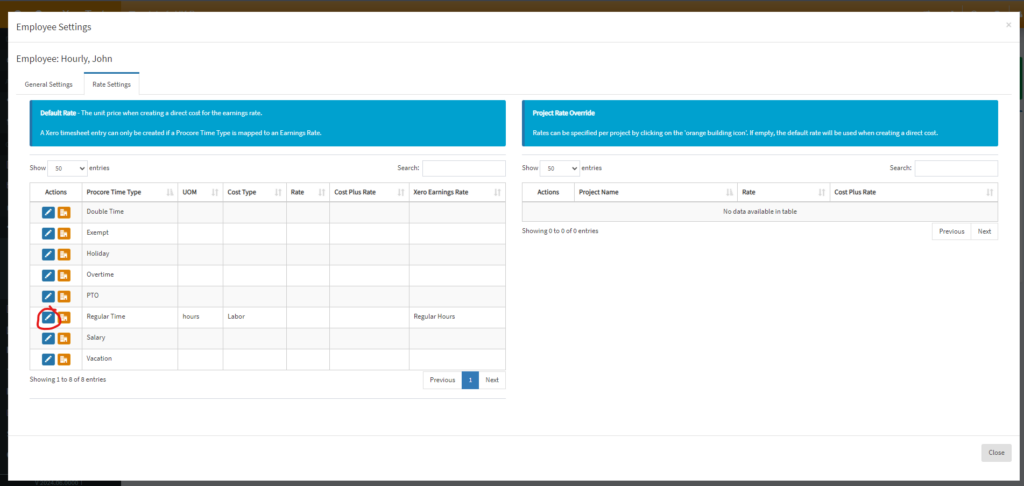
4. Navigate to Rate Settings on the tab
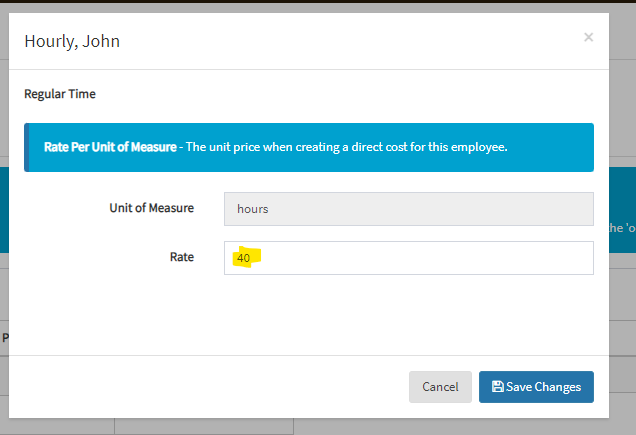
5. Configure the rate by clicking the blue pencil icon beside Procore Time Type
6. Set the Rate, click Save Changes
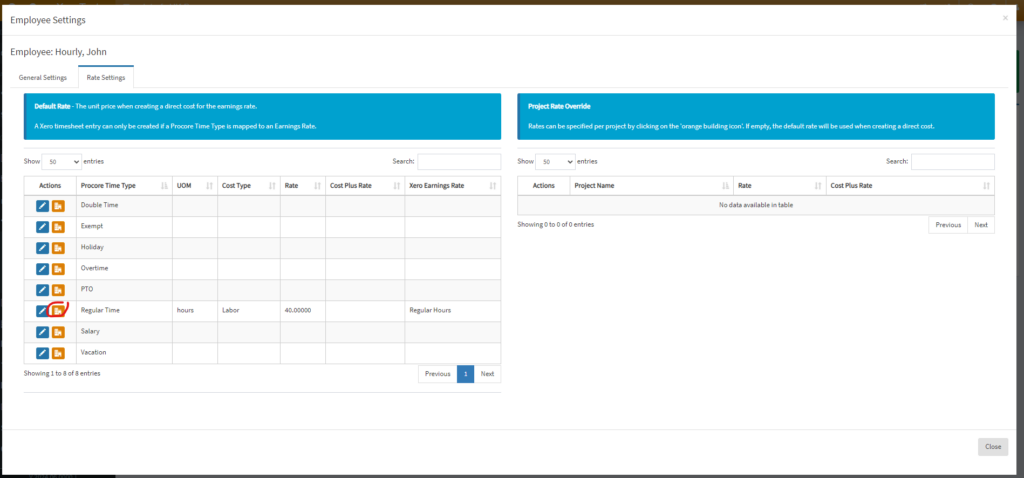
7. If you wish to override project rate, you may do it by clicking the orange icon next to the desired Procore Time Type
8. Once clicked, the list of projects on the right side
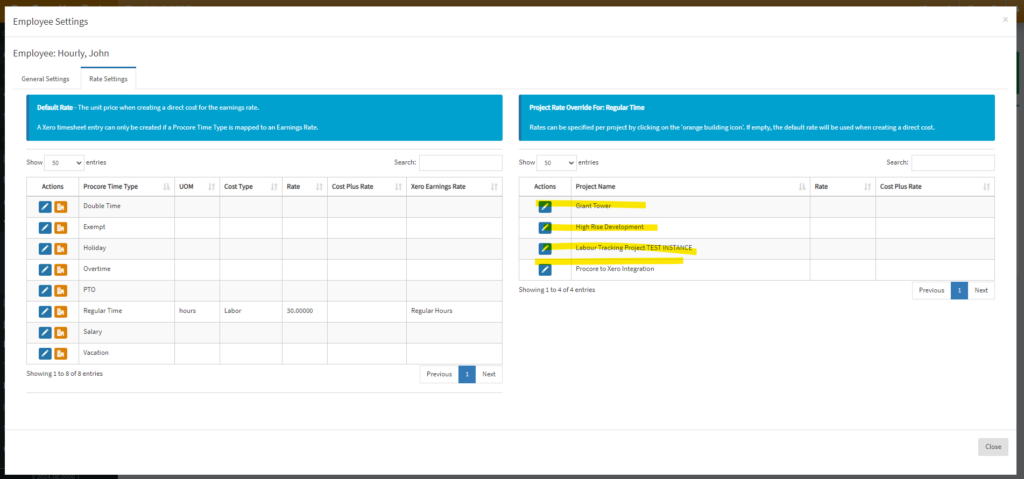
9. To override the Project “Giant Tower” for demonstration purposes, click the Pencil icon beside the desired project name.
10. Set the Override Rate
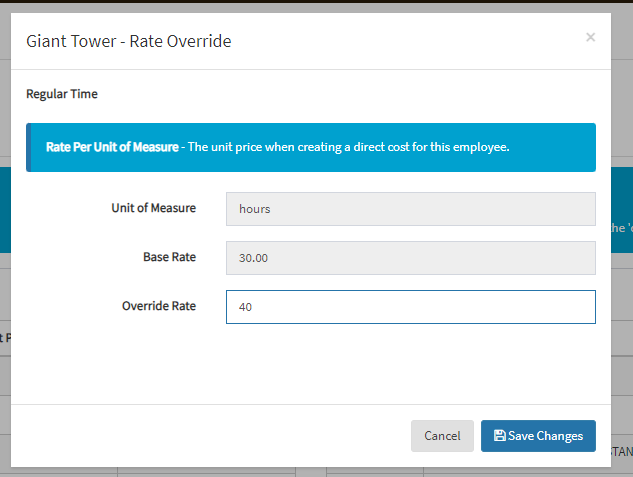
11. Click Save Changes
Time Type Mapping
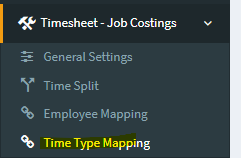
1. Navigate to Time Type Mapping
2. On Time Type Mapping page, click pencil icon next to the desired Procore Time Type
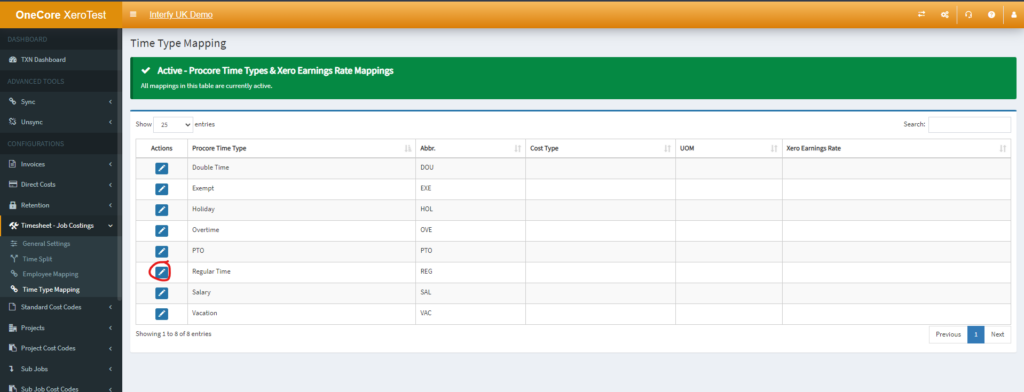
3. Select the appropriate Cost Type, Unit of Measure and Earnings Rate from the select list
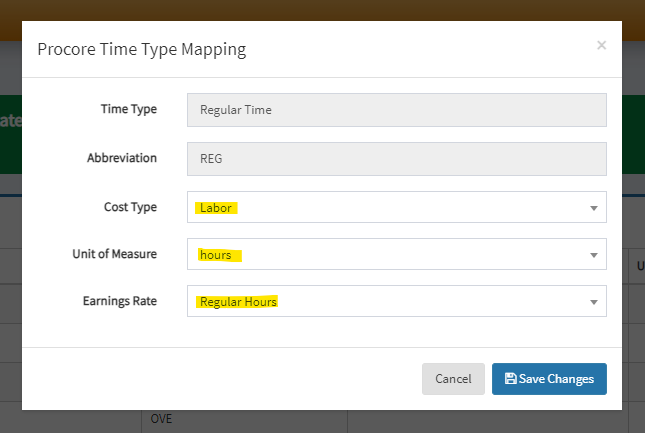
4. Click Save Changes. you shall see the updated mapping in the table.

Activate Payroll in a Project
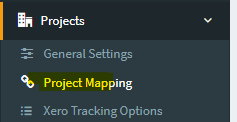
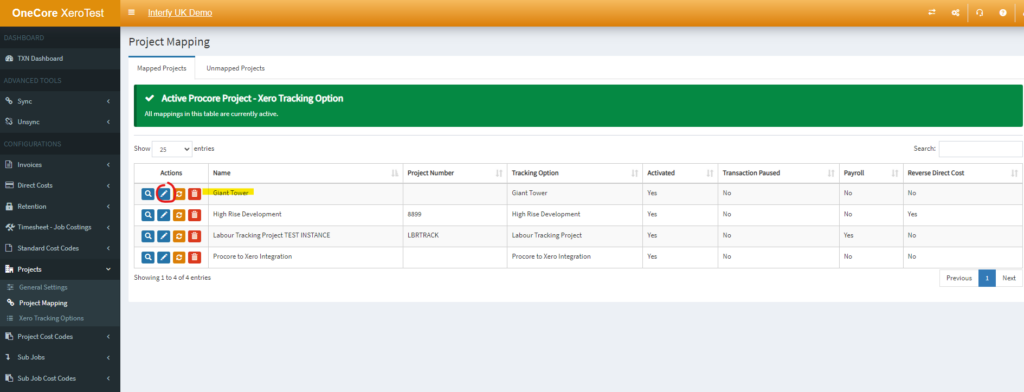
1. To activate payroll, navigate to Projects > Project Mapping
2. Click the pencil icon on the desired project name
3. Check Enable Payroll
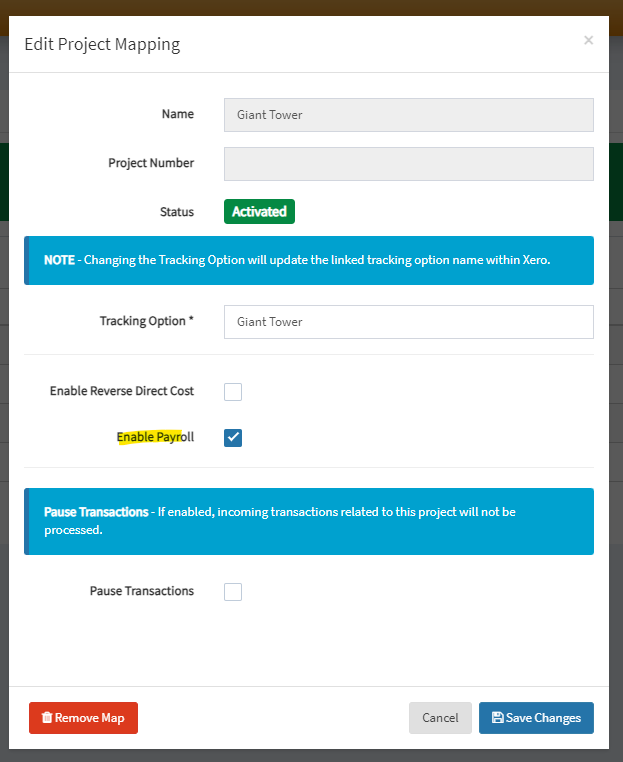
4. Click Save Changes
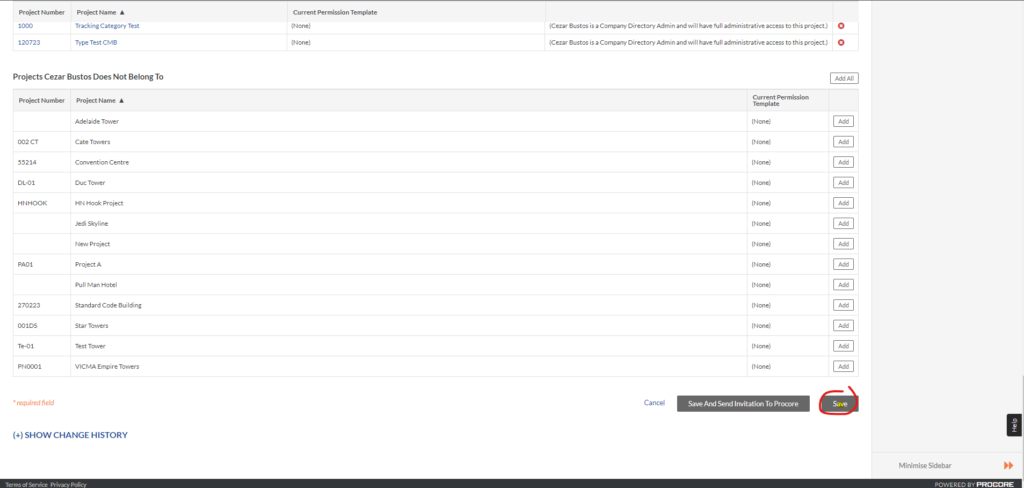
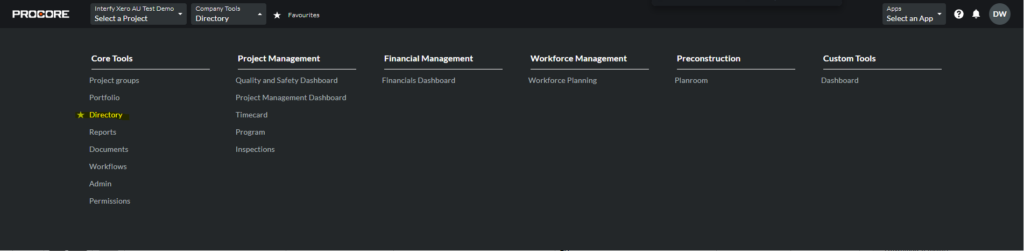
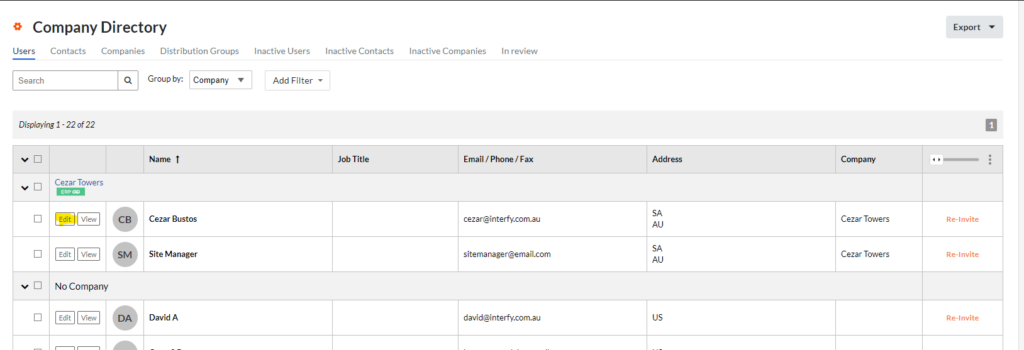
5. In Procore, ensure you have enabled users to be employees by navigating to the user in Company Tools > Directory
6. Hit Edit beside the desired employee name
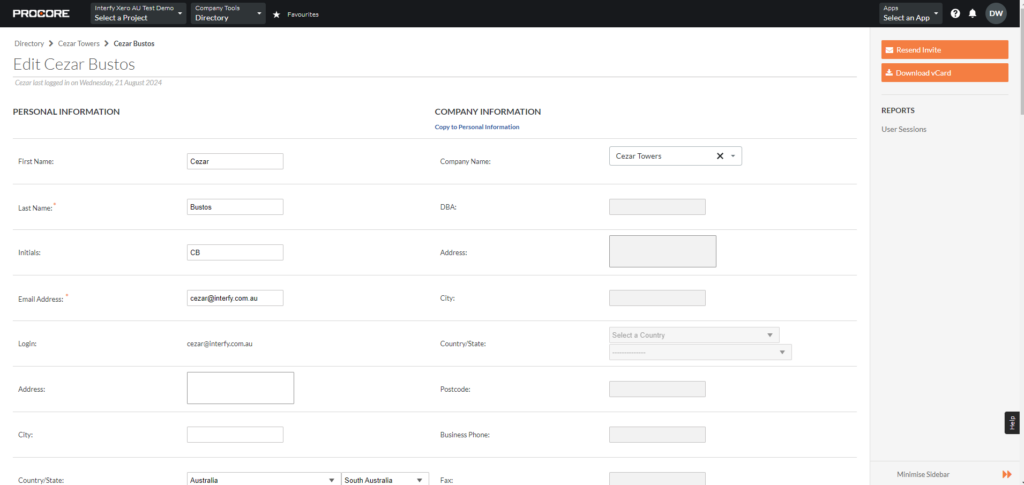
7. You will be presented with the form.
8. Check “Is Employee Of [Company Name].”
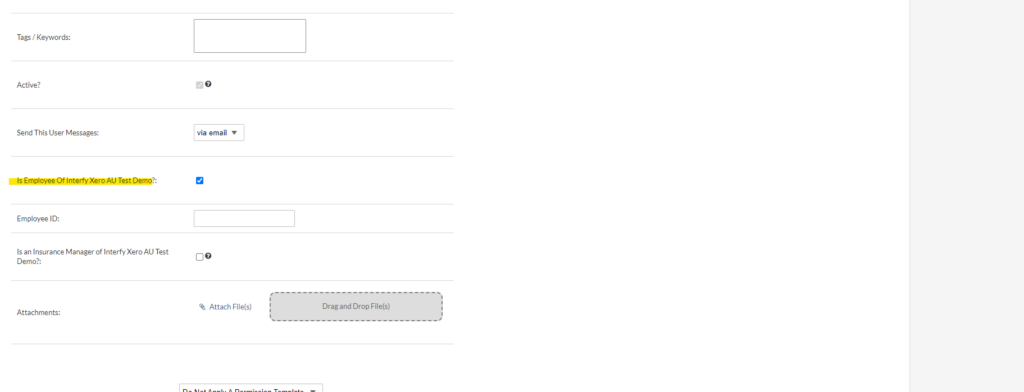
9. Scroll down to the bottom, click Save